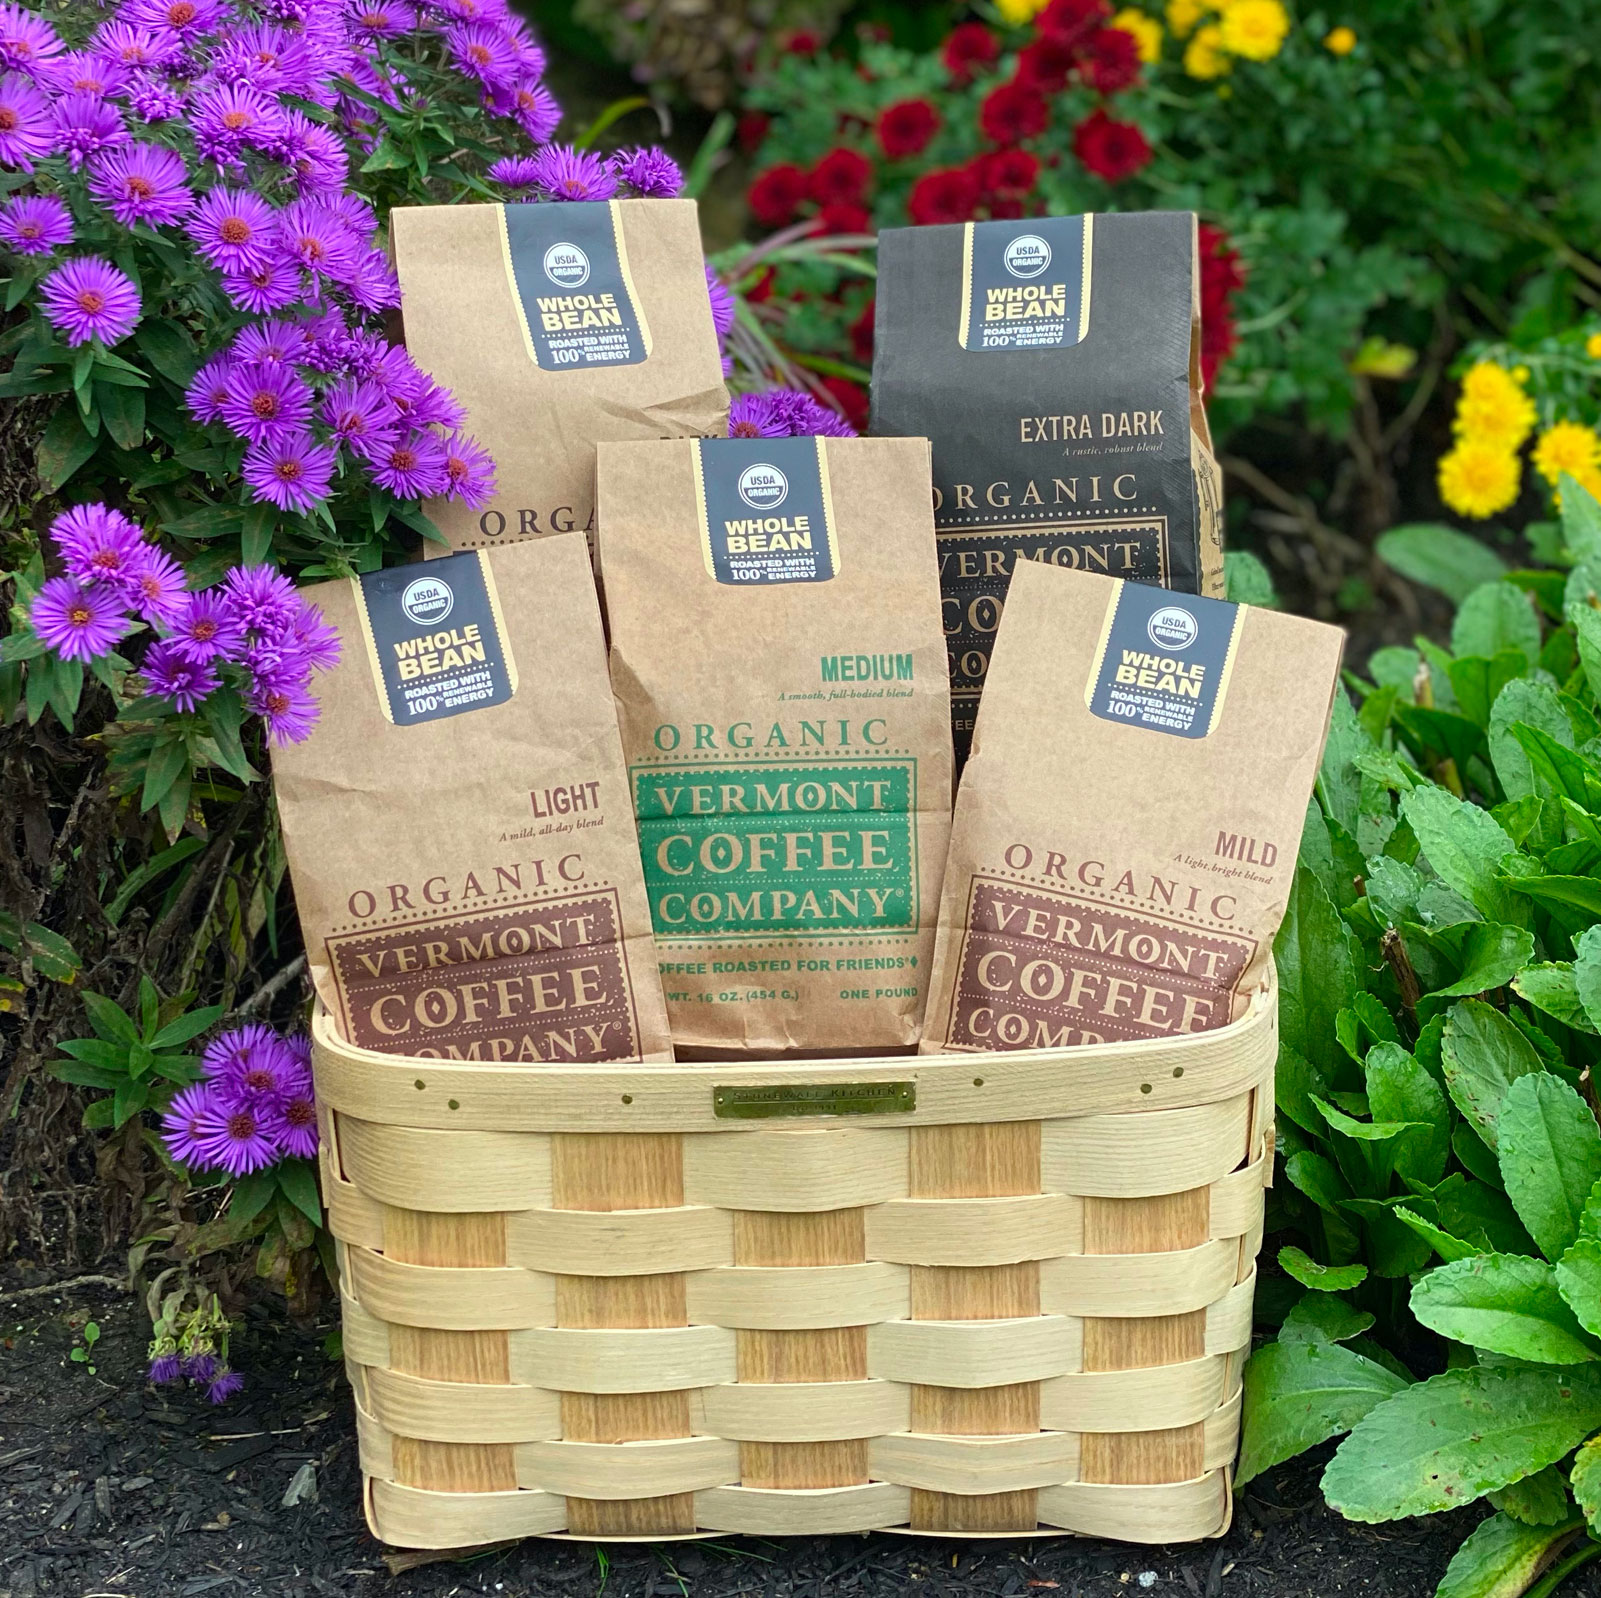
Our organic coffee brand, Vermont Coffee Company, has been roasting flavorful coffees in Middlebury, Vermont since 2001. Our friends in Middlebury rely on biogas to power the facility. What’s biogas? Biogas is methane generated by dairy farms, locally called “cow power”. Our coffee is organically sourced and sustainably slow-roasted using 100% renewable energy, it’s is both good for you AND the planet!
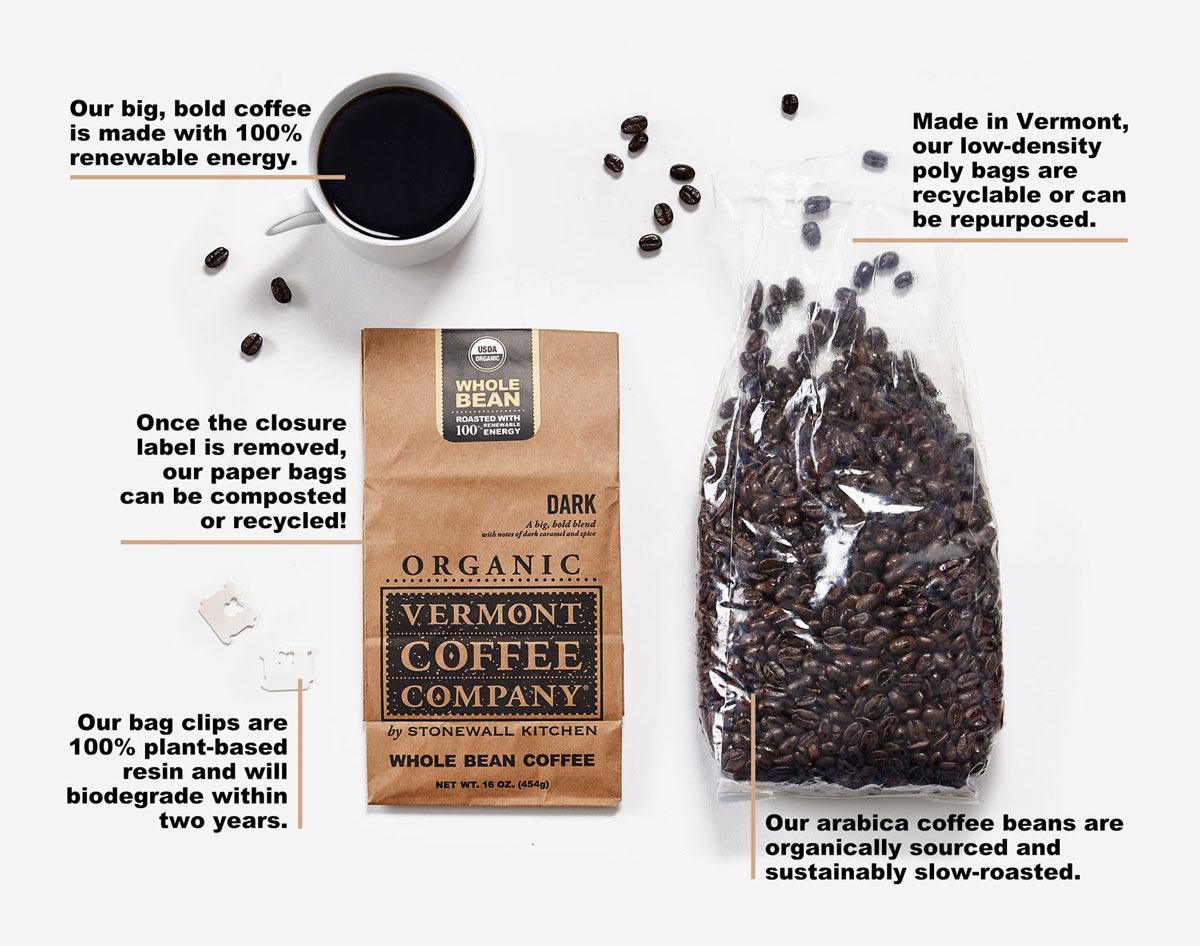
Want to get even more mileage out of our sustainable coffee? Read on for how to use our whole bean coffee packaging and coffee grounds to start your own compost bin.
Step 1. Enjoy a cup
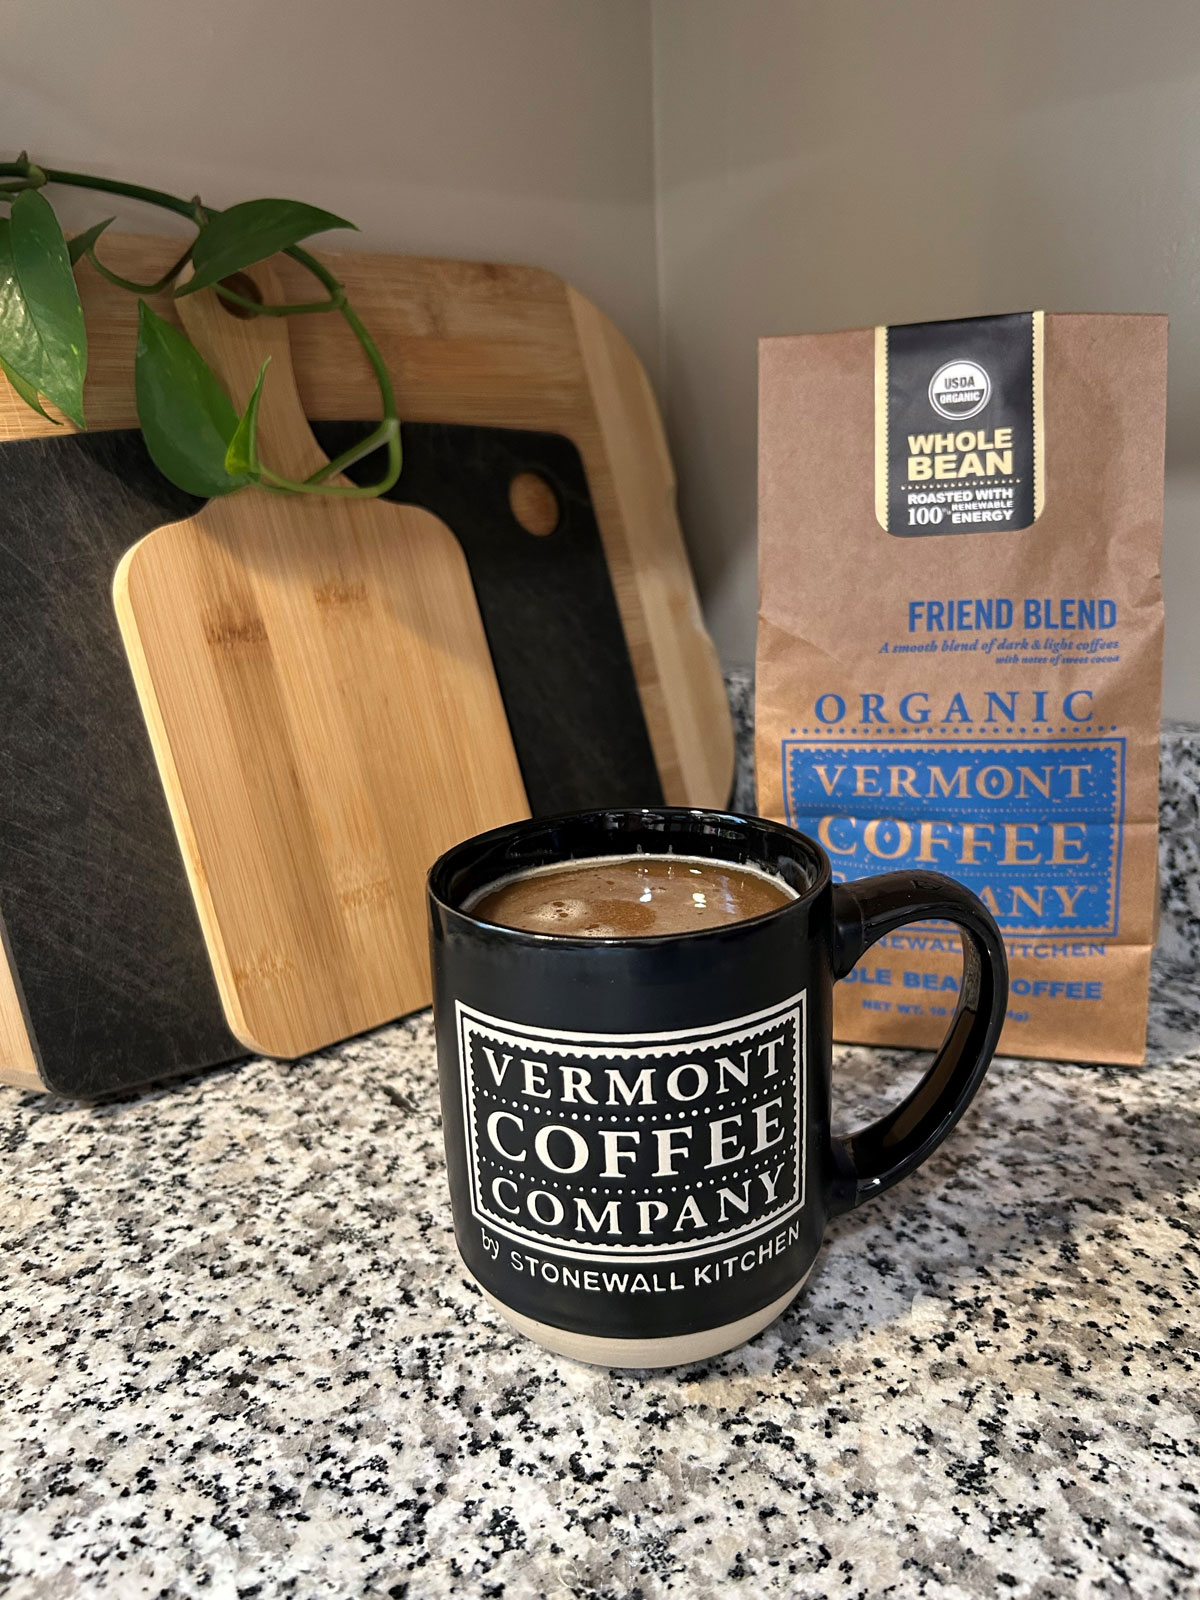
Brew and enjoy a fresh cup of Vermont Coffee Company coffee. I like the Friend Blend for its mix of light and dark roasted beans. After enjoying your morning cup, collect your filter with your spent coffee grounds to be used later. Don’t forget to save up your empty paper packaging once you finish a bag, this will be contributed to your compost bin too.
Step 2. Prep your container
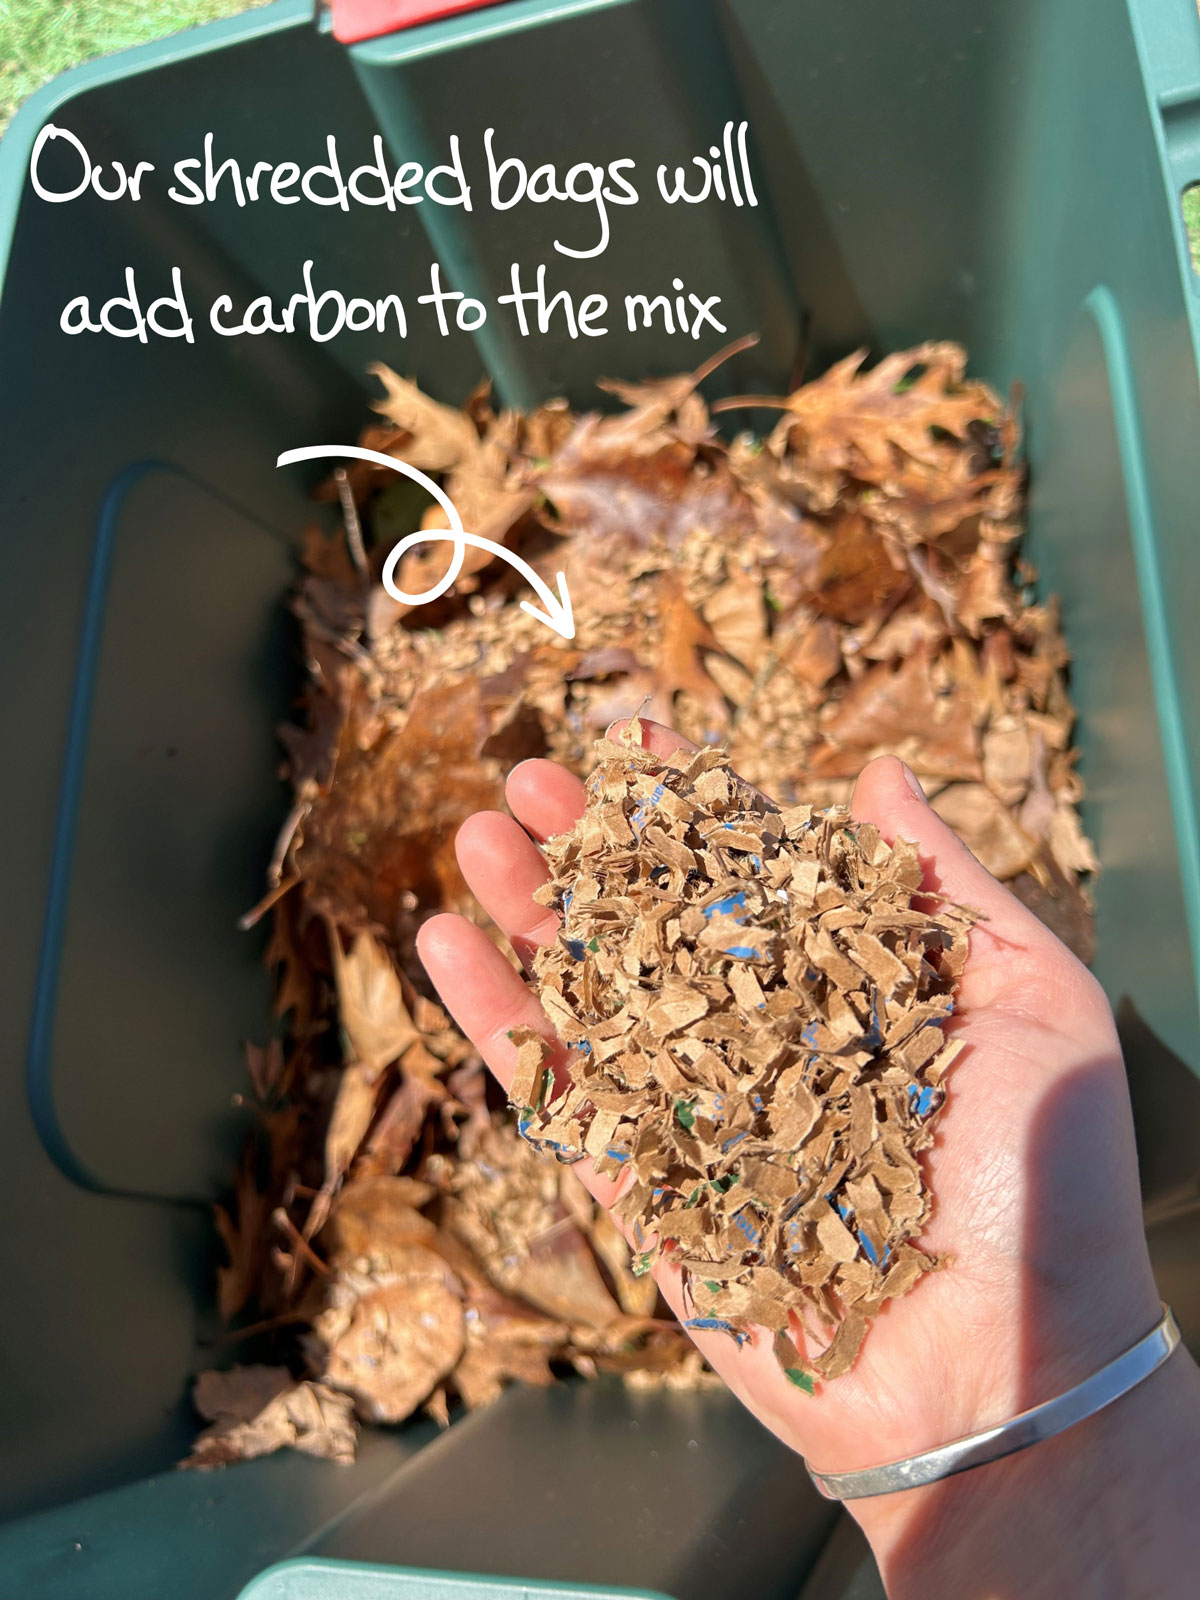
Choose a large container and drill several holes in the base for air flow. Make sure this container has a lid. Our bottom layer will be a collection of small sticks and twigs, which will help the compost drain. Collect fallen leaves and shred up your Vermont Coffee Company Whole Bean Coffee brown paper packaging. (Remember to remove the closure label!) This mix of leaves and paper are called “brown matter” and it will be our second layer. Brown matter is rich in carbon, which is necessary for our bin.
Step 3. Layering
Now we’ll layer in our “green matter”. Green matter is rich in nitrogen, which will fortify the compost. Green matter could be anything from fruit and vegetable scraps, eggshells, lawn clippings, or your favorite used Vermont Coffee Company coffee grounds. Pro Tip: try to avoid adding citrus peels, this could make our compost too acidic!
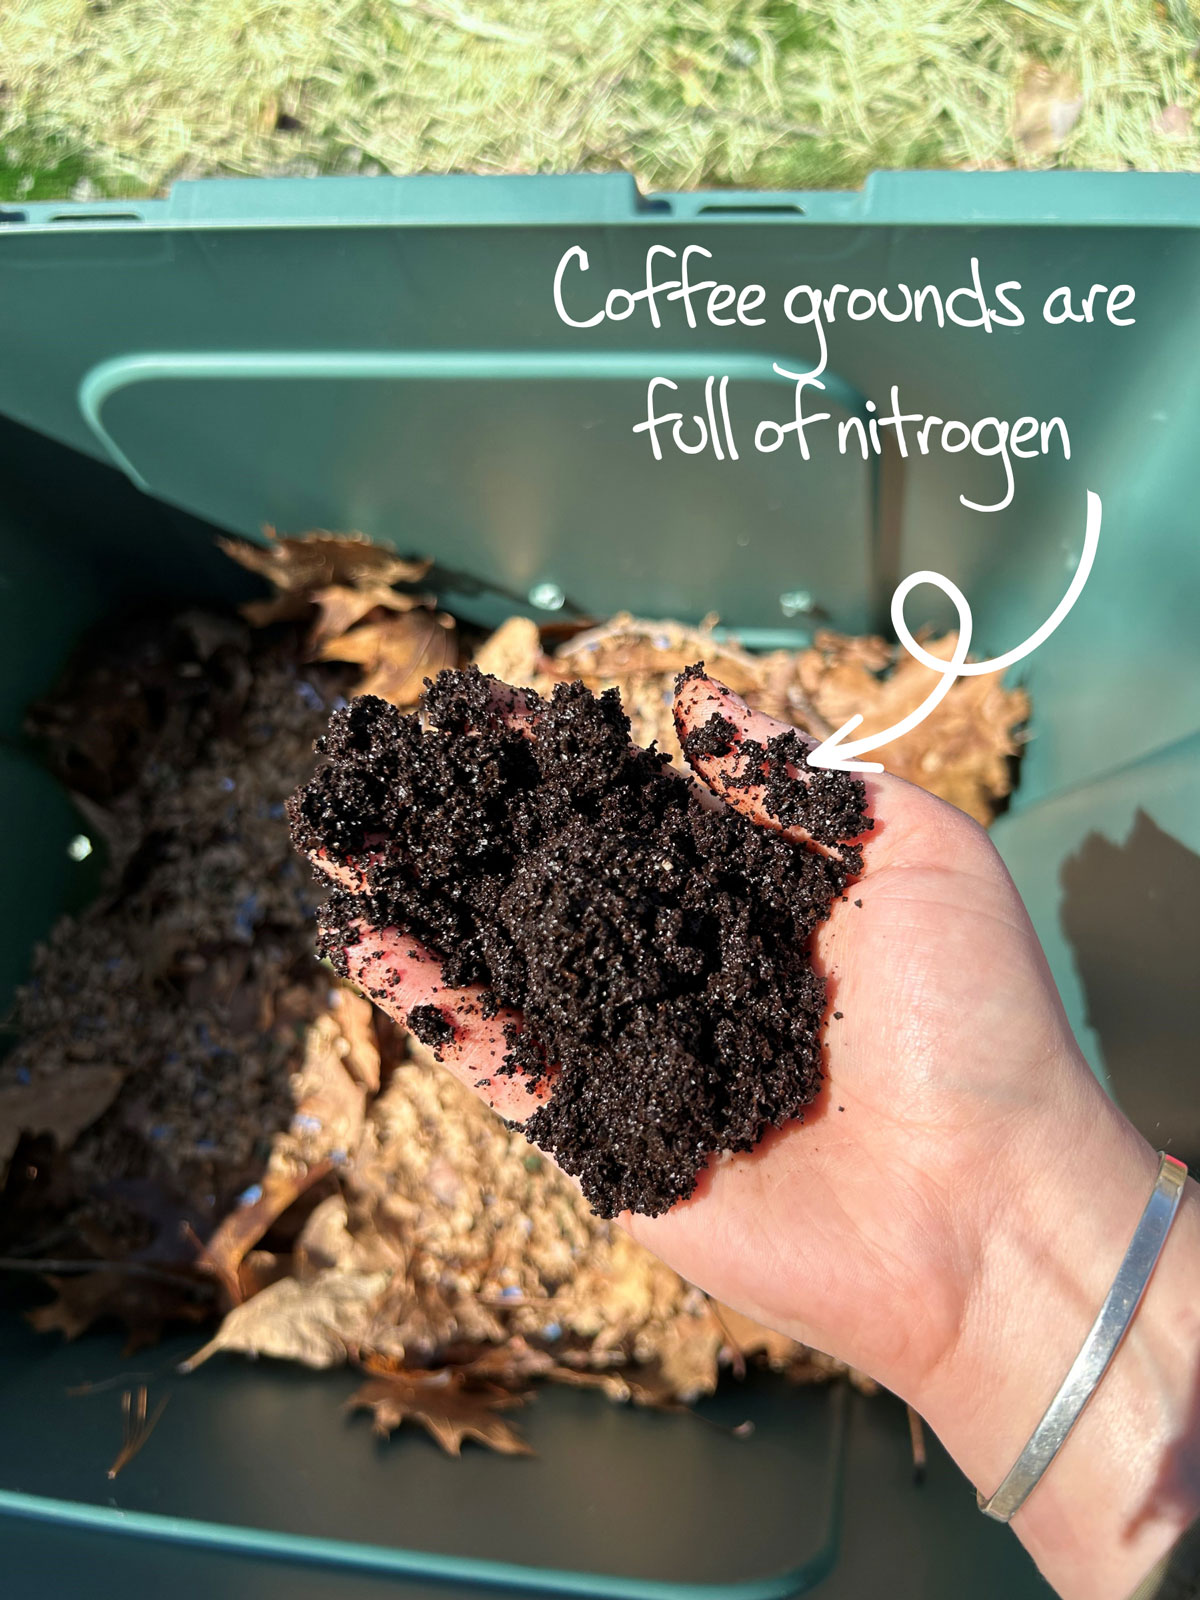
Now that we have a base started, you can continue layering brown matter and green matter as you accumulate grounds, packaging, and kitchen scraps.
Step 4. Watering & Maintenance
Keep your compost moist to aid the breakdown process. After a few weeks, you can stir the contents of the container. Keep layering in brown and green matter and soon you’ll have rich soil for your garden. Happy planting!
